
A Guest Blog Post by
Jeff Ordonez
Note: Author, researcher, and teacher
Jeff Ordonez has studied world religions for over 25 years. He’s
traveled extensively throughout North America and South America
seeking the truth and now appears on nationally syndicated
radio. To learn more about Jeff and his book, Seven Predicted
Disasters, visit: http://7predicteddisasters.com
Fiery words of doom and gloom have existed for millennia and
predictions of global cataclysms have seized the mind for ions.
Almost all faiths and cultures have some type of prophetic
warning about the future, which are detailed in my book, Seven
Predicted Disasters. In light of this, my team and I put
together a list of best survival practices. Here’s a list of the
most important things you can do to survive a disaster – whether
small or large.
Top 10 Keys to
Surviving a Disaster
1. One year or more
of food
Although the Federal Emergency Management Agency (FEMA)
recommends storing food and water to last three days, survival
experts often store enough food and water to last well over a
year.
This prudent measure has historically shown to save lives during
major disasters. After the Fukushima tsunami a news report out
of Japan told the story about a man who fed family and friends
for nearly two weeks before adequate food supplies arrived. The
reporter highlighted the fact that the man had stored nearly a
years’ worth of dried food sealed in water tight packaging which
he had stored in closets throughout the house.
This technique can save more lives than you think.
2. Keep portable
cases of food and water
This is a frequently overlooked technique. Our survey found that
most survival experts recommend having on hand portable kits of
food and water. Unlike a food stock, portable food kits contain
all essential meals to last a week or two in one to-go bag.
These types of to-go bags should be prepared in advance and
placed in easily accessible areas. When disaster strikes a
portable food kit allows you the flexibility of simply grabbing
the bag and escaping without delay.
3. Geo Stashing
Hiding stashes of food and water along escape routes is an old
time tested practice. First you need to preplan multiple escape
routes from your city. If disaster strikes you want to be able
to open your map and know exactly which way to go.
Once you’ve determined the most viable escape routes, consider
hiding or camouflaging small stores of food along your escape
routes. Be sure not to trespass on private property. Food and
water must be stored in air tight containers for maximum storage
life.
As
you store your stashes of food, be sure to be as discreet as
possible to reduce your visibility. You can store food along
hundreds of miles of road to ensure safe passage, but be sure to
cleverly mark your locations. GPS coordinates, maps, and written
notes should all be considered when devising a geo-stashing
plan.
4. Three-Day
bug out bag
The three-day bug out bag is a true and tried friend of
survival. A portable bag that contains the essentials for 3 days
of survival is as varied as the needs of its designer, but there
are several core principles to keep in mind when preparing a
survival bag.
Remember, a bug out bag provides short term support in the case
of immediate evacuation. Most survival experts agree that the
following items should be considered when assembling a
grab-and-go bag:
-
3 days of non-perishable food and water (Consider pet,
child, and elderly care)
-
Water purification supplies
-
Portable cooking supplies
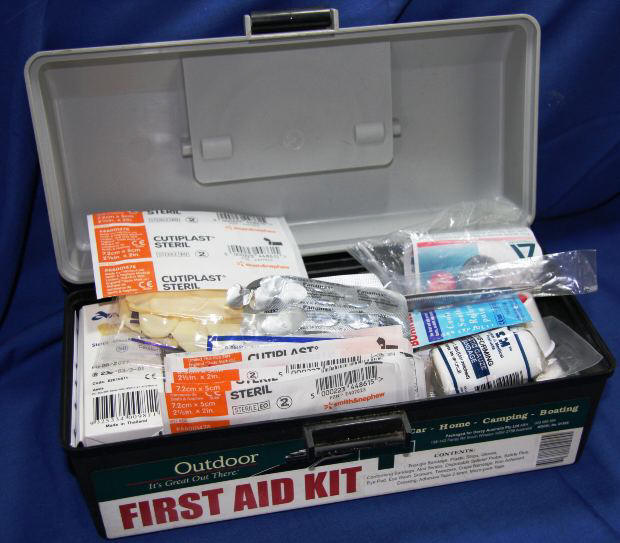
-
A first aid kit (consider allergies, the flu, and any
regular medication)
-
Fire starting tools (e.g., matches, ferrocerium rod,
lighter, etc.)
-
A disaster plan including location of emergency centers,
meeting points, possible evacuation routes, etc.
-
Emergency literature explaining how to survive and escape
various types of disasters. (Study and understood in advance
but packed for reference.)
-
Maps and travel information.
-
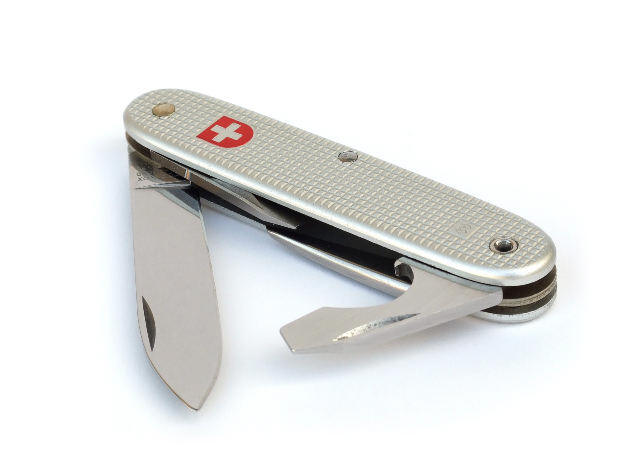
Standard camping equipment. (include hygiene and toiletries,
fixed-blade and folding knife, compass, slingshot, pellet
gun, blowgun or other small game hunting equipment, wire for
binding and animal traps, a flexible saw, etc.)
-
Weather appropriate clothing (e.g., water proof poncho,
headwear, gloves, etc.)
-
Bedding items - sleeping bags and blankets.
-
Records (Drivers license, car registration and insurance,
copy of mortgage and title, credit card records, property
insurance, medical insurance, medical records, state I.D.
card, social security, birth certificate and/or passport
etc.)
-
Battery or crank-operated radio.
-
Lighting (battery or crank operated flashlight, glow sticks)
-
Cash and change. (Automated Teller Machines ATM’s may not be
available)
-
Duct tape and rope or paracord.
-
Plastic tarps for shelter and water collection.
5. Alternate
communication
Imagine the electrical grid going out and your television goes
dark. All regular and mobile phones stop working, and even the
Internet is no longer accessible. What do you do?
Not many people consider alternate forms of communication when
preparing, yet it can be a life-saving move that can get you and
your family out of harm’s way. The top two alternatives are ham
radios and cb radios (Citizens Band). Of the two, CB radios
require no license and virtually no training, unlike ham radios.
A
properly trained and licensed ham radio operator can communicate
over continents, while a cb radio may be limited to just 5 or 10
miles. Weighing factors like training, alternate power sources,
portability, and expense will determine the best option for you.
The average person feels most comfortable with a portable cb
radio. They don’t require a license, are easy to operate,
require less power, can be portable, and are inexpensive.
6. Self defense
It’s common knowledge that in a disaster situation the rule of
law quickly breaks down. After a devastating situation a massive
disruption of power and communication can cripple emergency
services and police protection.
In
these situations there are two types of self defense tactics,
non-lethal and lethal. Non-lethal tools and methods include
mace, pepper sprays, tasers, stun guns, personal attack alarms,
self-defense training, and home protection devices. The lethal
category includes knifes and firearms, although they can also be
used as non-lethal tools.
Unfortunately crime exists, and catastrophes are a criminal’s
window of opportunity. It’s better to prepare now.
7. Suit Up!
Nuclear, biological, and chemical (NBC) warfare can hurt entire
populations, and yet for as little as $50 to $100 you can defend
yourself from these invisible assailants.
A
personal protective suit is designed to protect you against the
harmful, sometimes lethal affects of nuclear, biological, and
chemical agents. It protects by restricting direct contact with
contamination. In general it’s designed for short term use to
facilitate safe escape, or survival, in a mass contamination
situation.
8. Alternate currency
Today the standard currency is the “dollar”. It’s a medium of
exchange, or payment, and a standard of value. But what if the
value of currencies collapses or you run out of cash in an
emergency situation? A small gold coin or silver can go a long
way.
Exchanging goods and services for items of value is nothing new,
it’s called bartering. Bartering used play an important role in
our history and may play role in a disastrous situation.
Consider a few extra supplies of value just in case it takes a
while before things return to normal.
Here’s a top ten list of things that have been historically
known to have value during tough times:
-
Alcohol – There’s always demand for alcohol. It can also be
used medically, plus is has flamable properties.
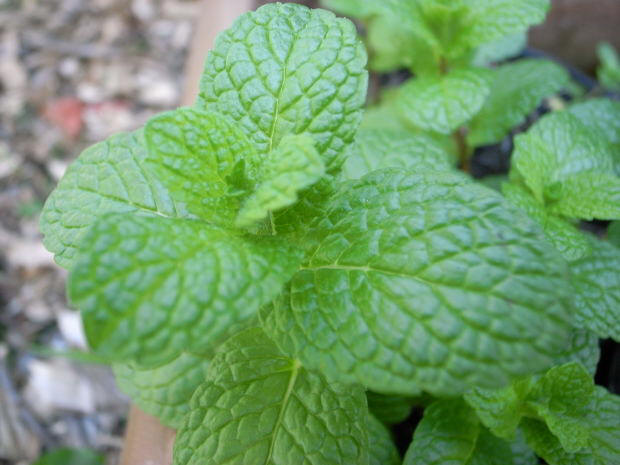
-
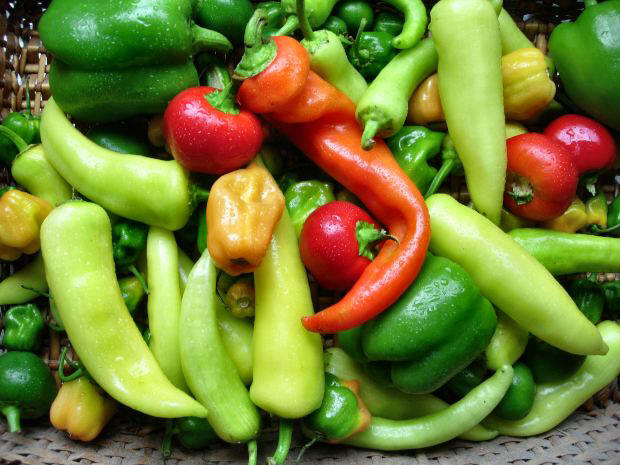
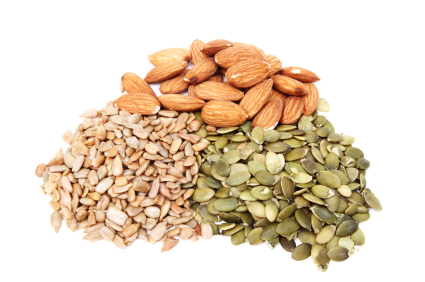
Seed – Depending on where you live and the situation,
vegetable and fruit seeds may be worth more than silver and
gold.
-
Toilet Paper – There are many alternatives to toilet paper,
but nothing beats it. Toilet paper is a luxury when supplies
are low.
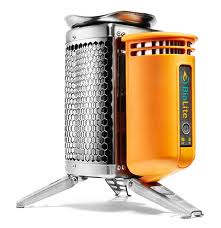
-
Fire – Any fire starting kit is essential if you’re going to
stay alive. Matches, lighters, ferrocerium rods (fire
steel), magnesium fire tools, are always in demand. Another
great product to consider for keeping a reliable source of
fire is WiseFire.
-
Food and water – Everyone needs to food and water. Food and
water are of vital importance when any disaster strikes.
-
Pain relief – Items like ibuprofen and aspirin are small
compact items that are excellent in a battering situation.
-
Sweets – In a world of survival, a pack of sweets like
chocolate temporarily helps escape the drudgery surviving.
Plus it’s a good source of calories.
-
Toiletries – Soap, shampoo, toothpaste, and deodorant, are
things that provide comfort and hygiene.
-
Spices – The human palette craves food with flavor. Extra
salt, pepper, and flavorings in general are great to have on
hand.
-
Coffee – Another small luxury that can be worth gold. Keep
extra on hand.
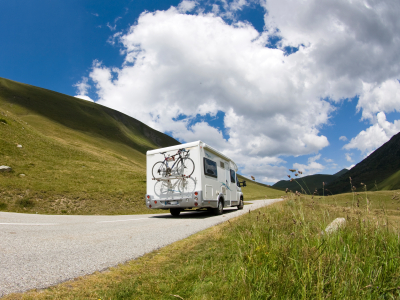
9. Alternate
Transportation
There are many forms of transportation that use alternate forms
of energy. Looking into them you’ll find a myriad of options
that use of the sun, wood, water, cooking oil, and even waste to
fuel vehicles.
The time-tested form of energy is the human body. Walking and
cycling are at the top of the list when fuel runs out, or when
highways are jammed shut with cars.
10. Health
The most important tool in your arsenal is your health. If you
can maintain a strong and healthy body with good food and water,
you’ll be able to escape and survive almost any situation.
To learn more about Jeff
and his book, Seven Predicted Disasters, visit: http://7predicteddisasters.com/
|


